
Set labels
Labels are colored tags, with an emoji, that you put on tasks to organize and prioritize them. A task can have several labels.
Add a label to a task
Section titled “Add a label to a task”- Click the title of the task to open it.
- Click the “Add label” button (tag icon).
- Click the label to add. Type in the “Search” field to find one quickly.
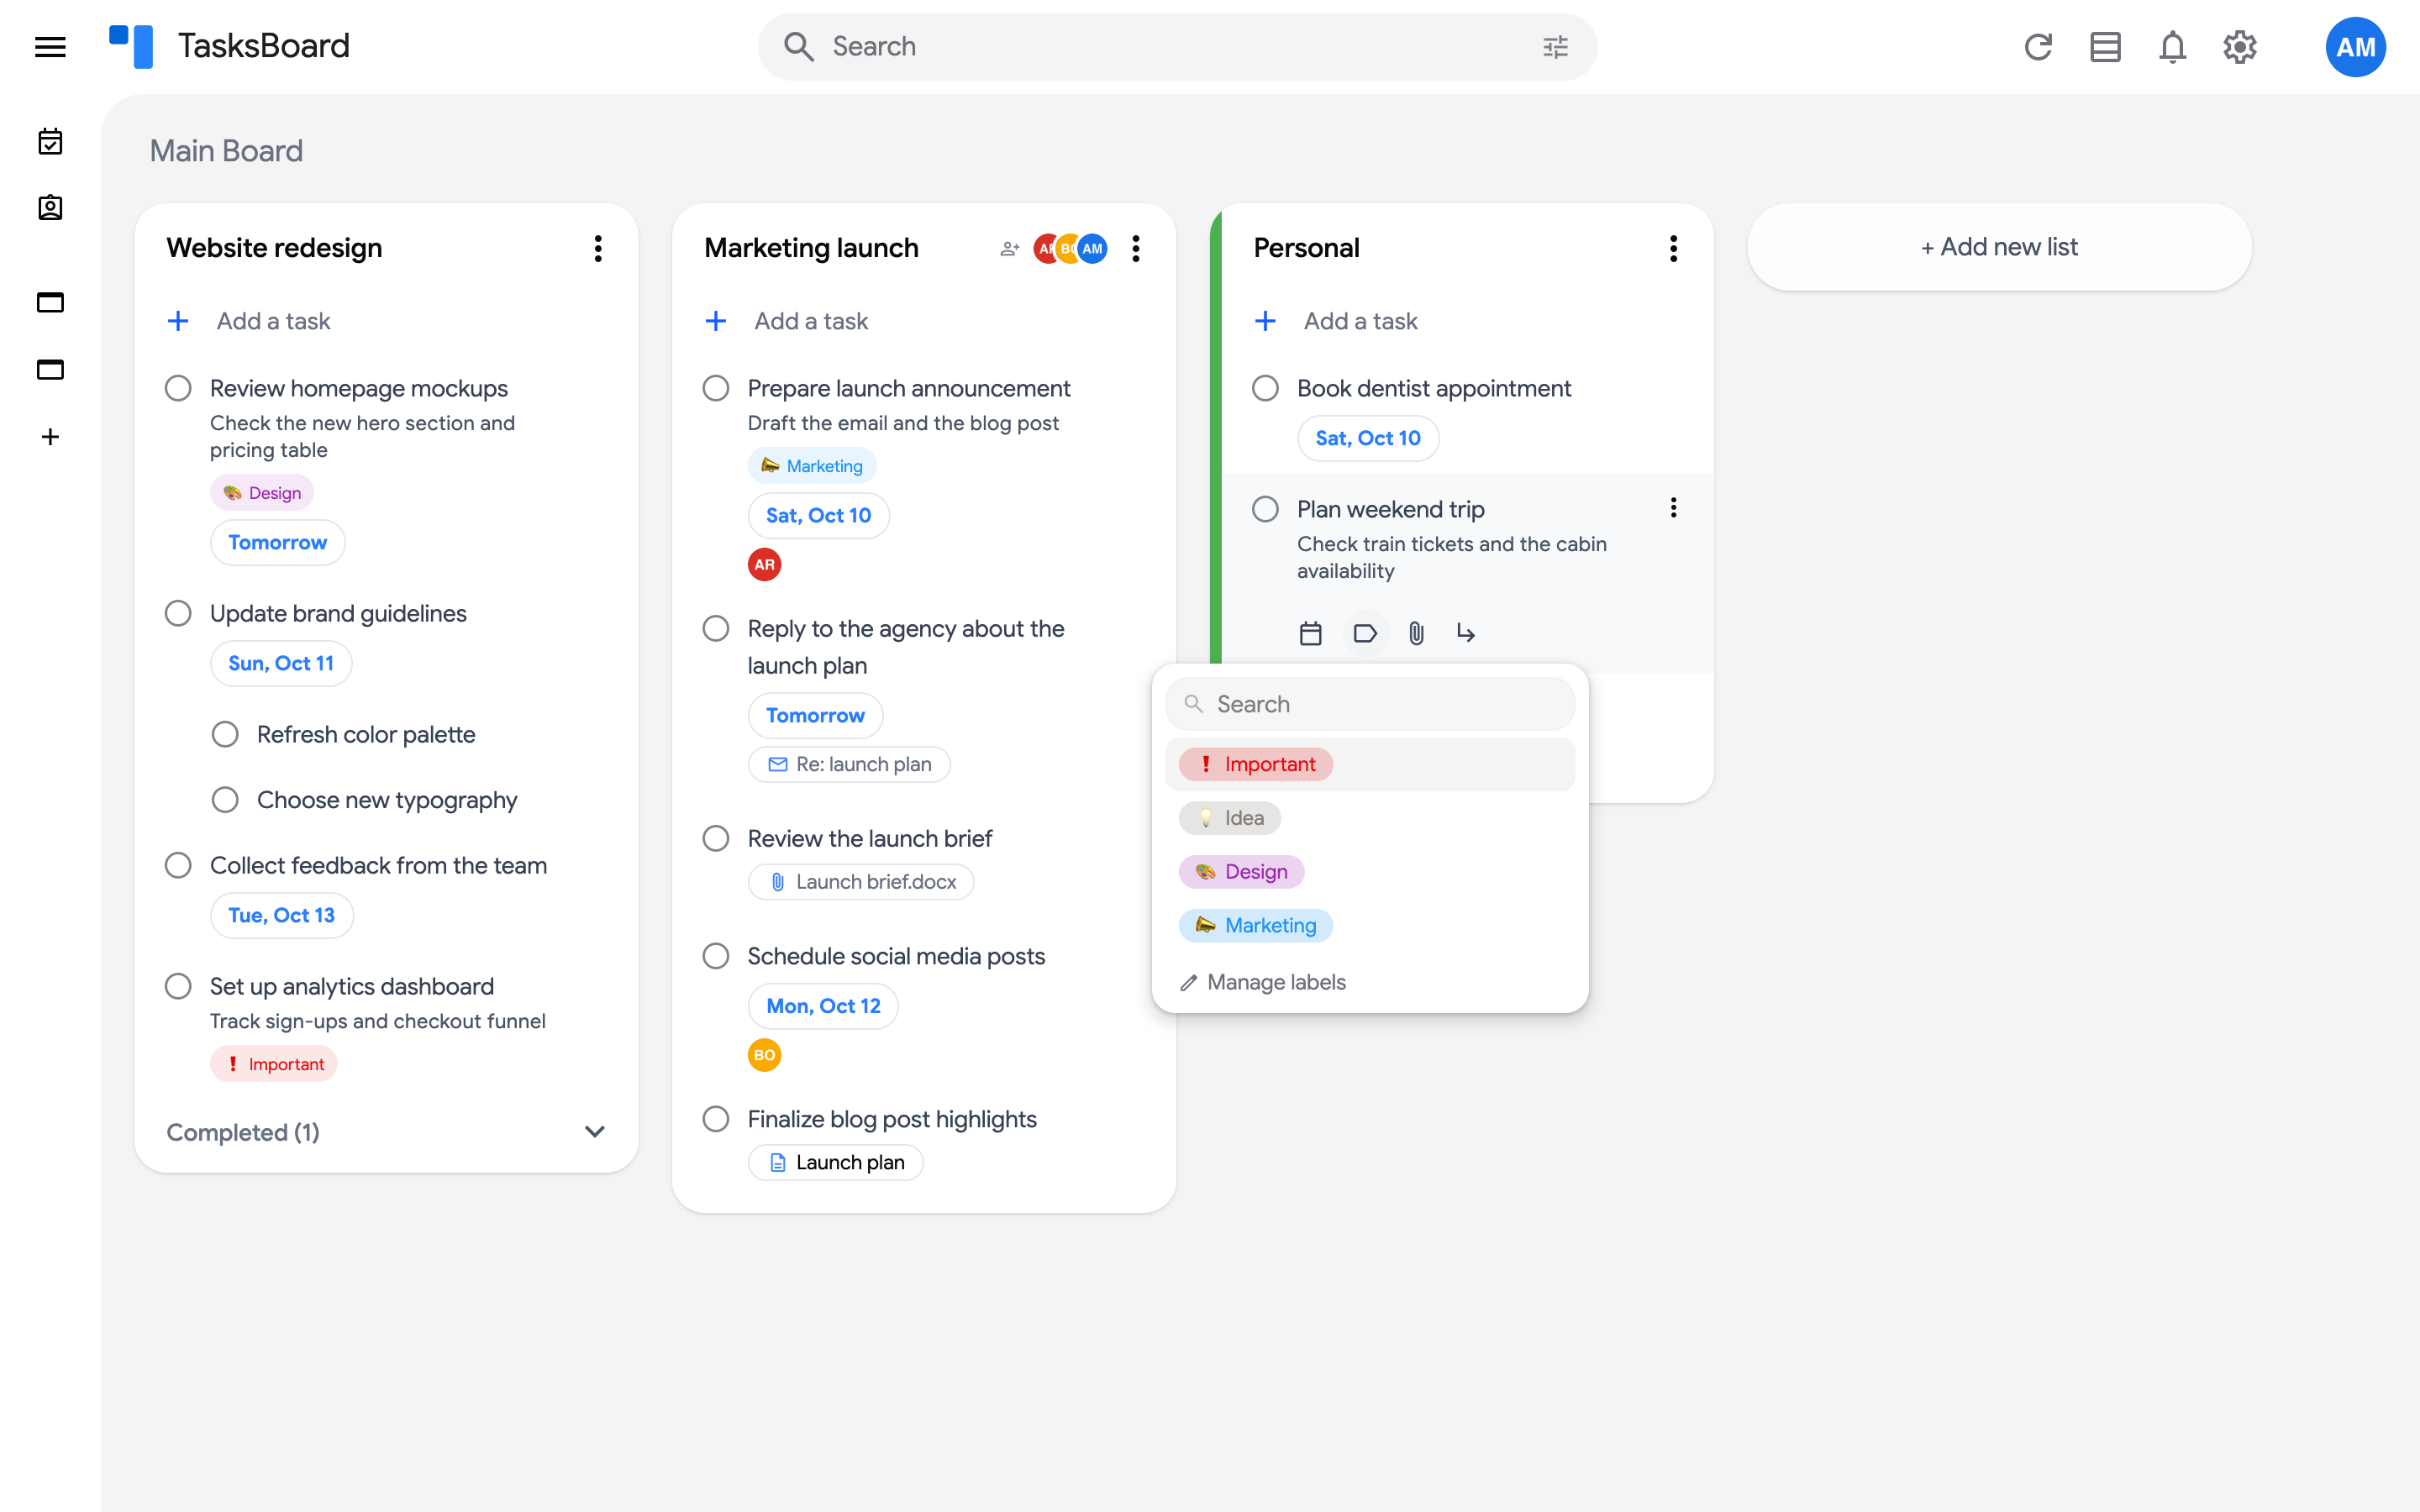
The label shows as a chip on the task. To remove it, open the task and click the x on the chip.
Create and manage your labels
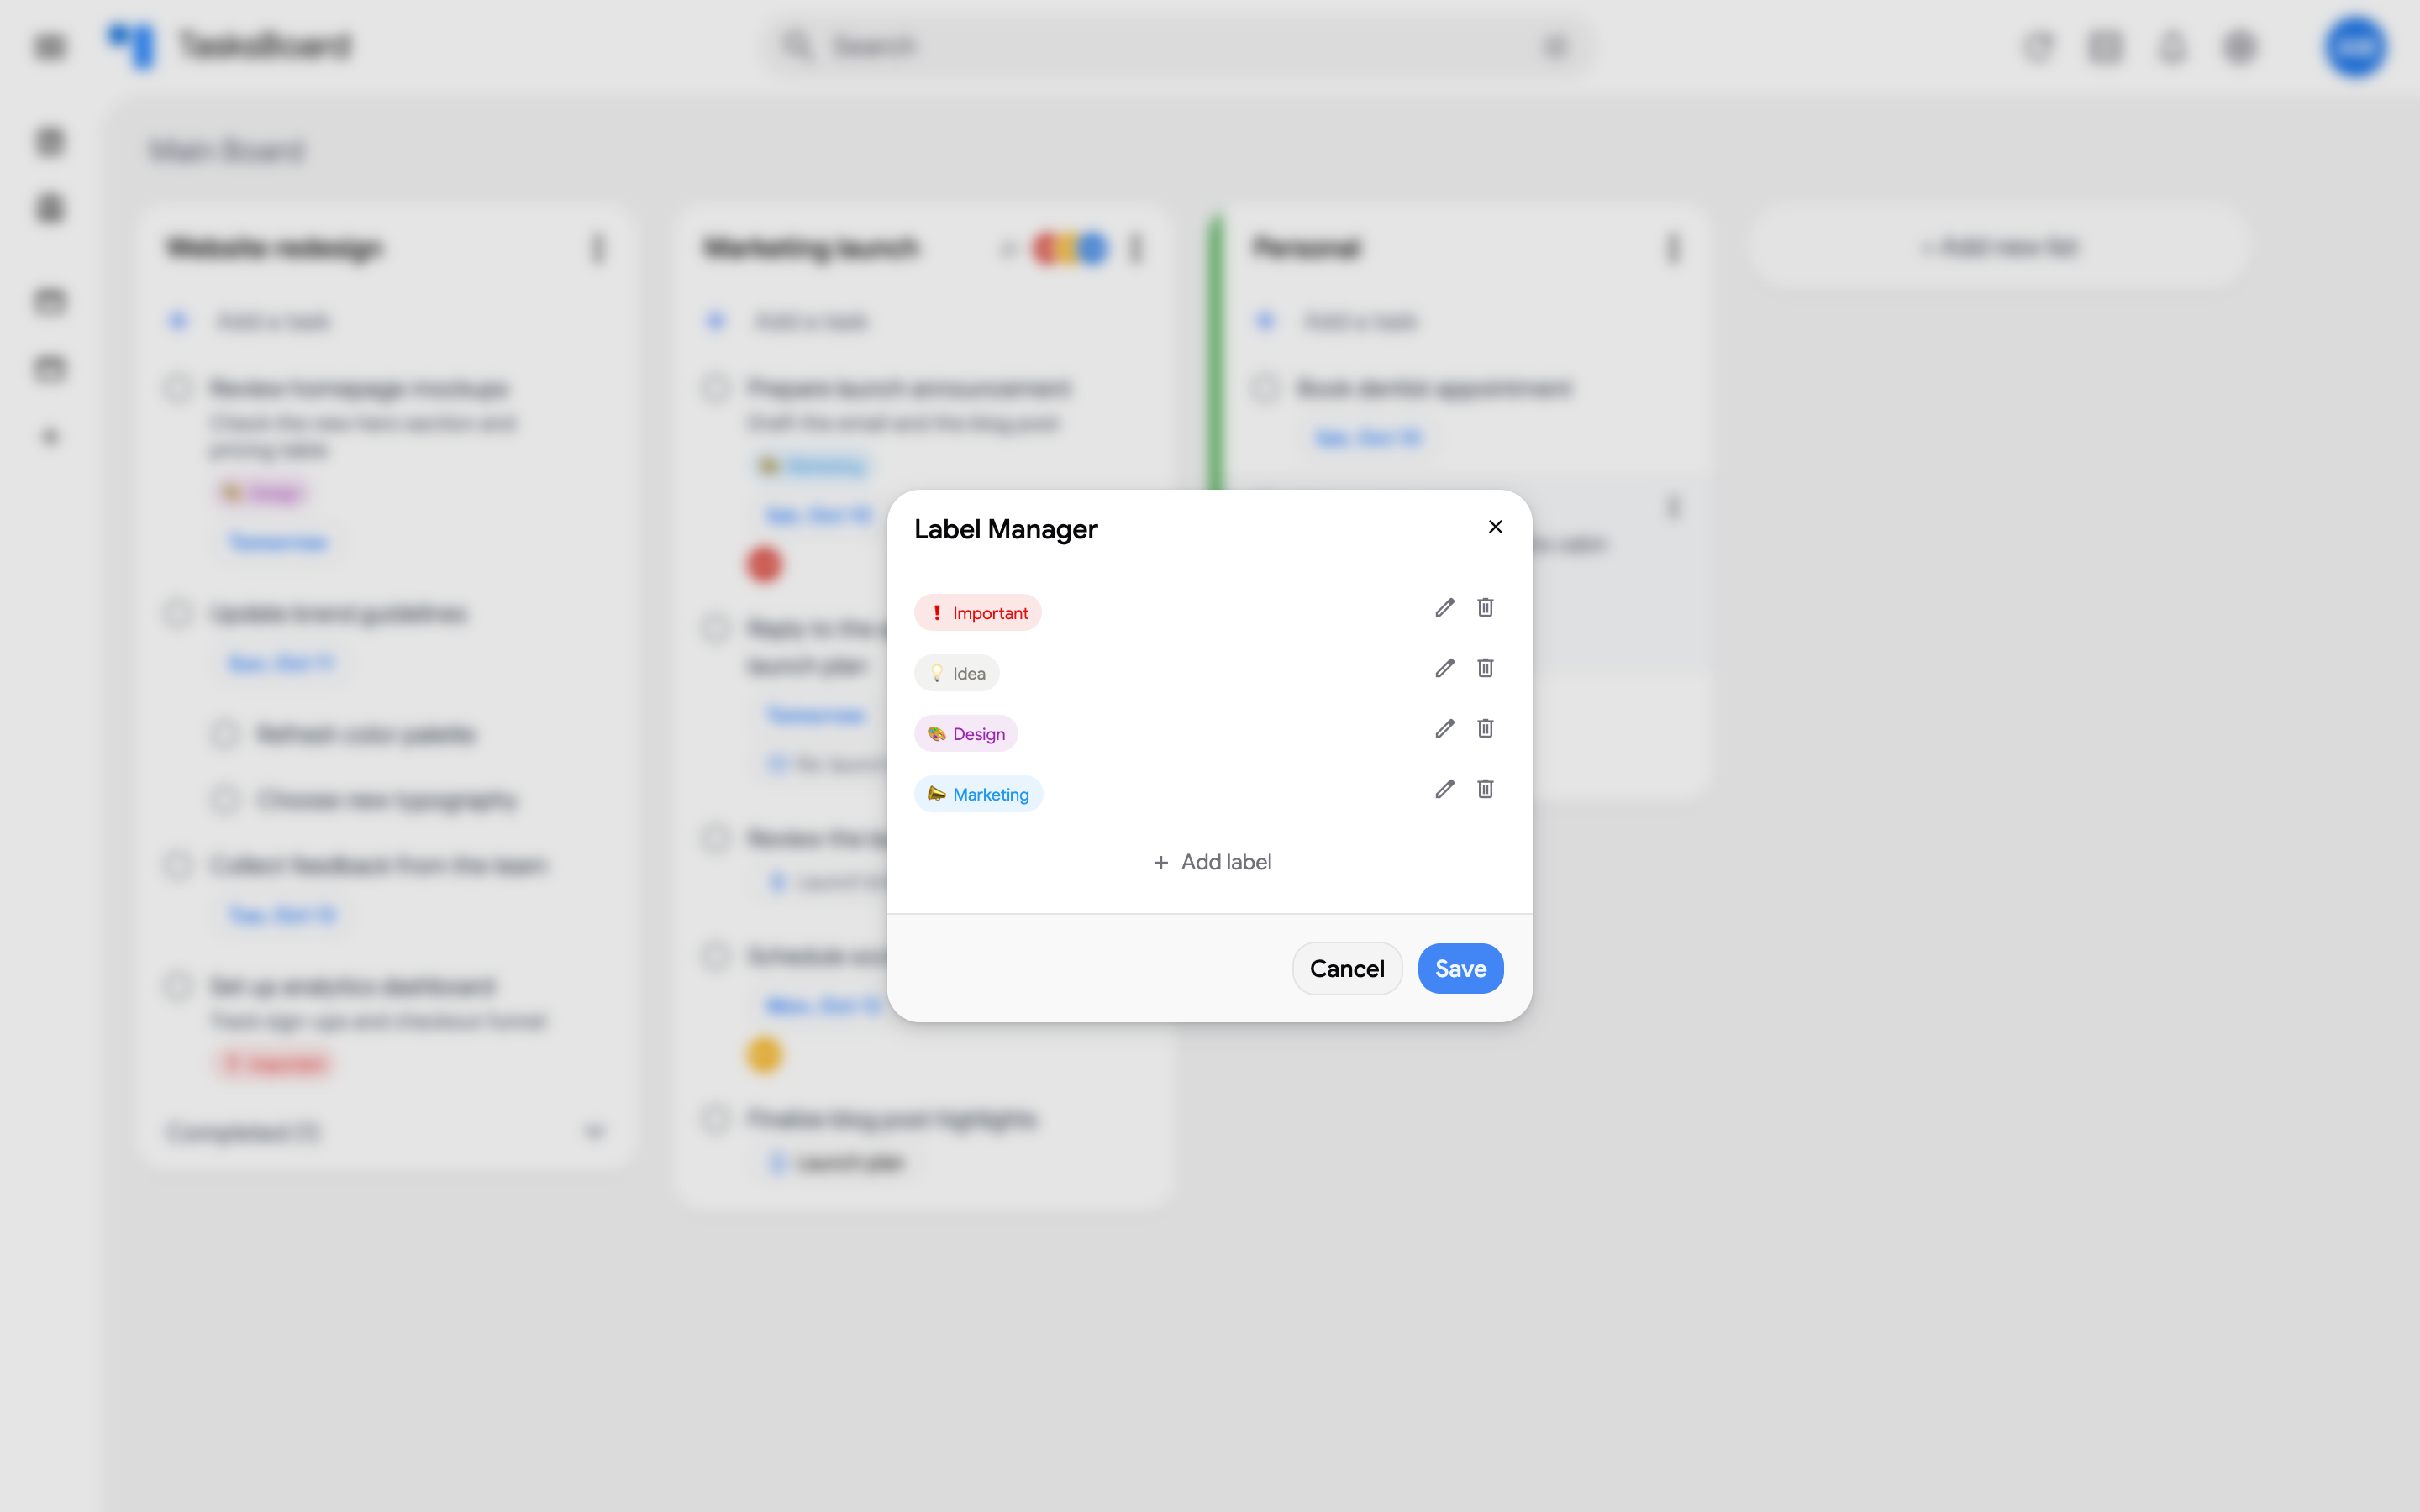
Section titled “Create and manage your labels”- In the label picker, click “Manage labels”.
- In the Label Manager, click “Add label” to create one: pick an emoji, type a name and choose a color. Use the pencil to rename or recolor an existing label and the bin to delete it.
- Click “Save”.
Filter tasks by label
Section titled “Filter tasks by label”Click a label directly on a task: the board switches to the search results for that label, across all your boards, and the filter icon shows a badge. You can also pick labels in the “Labels” field of the search filters.
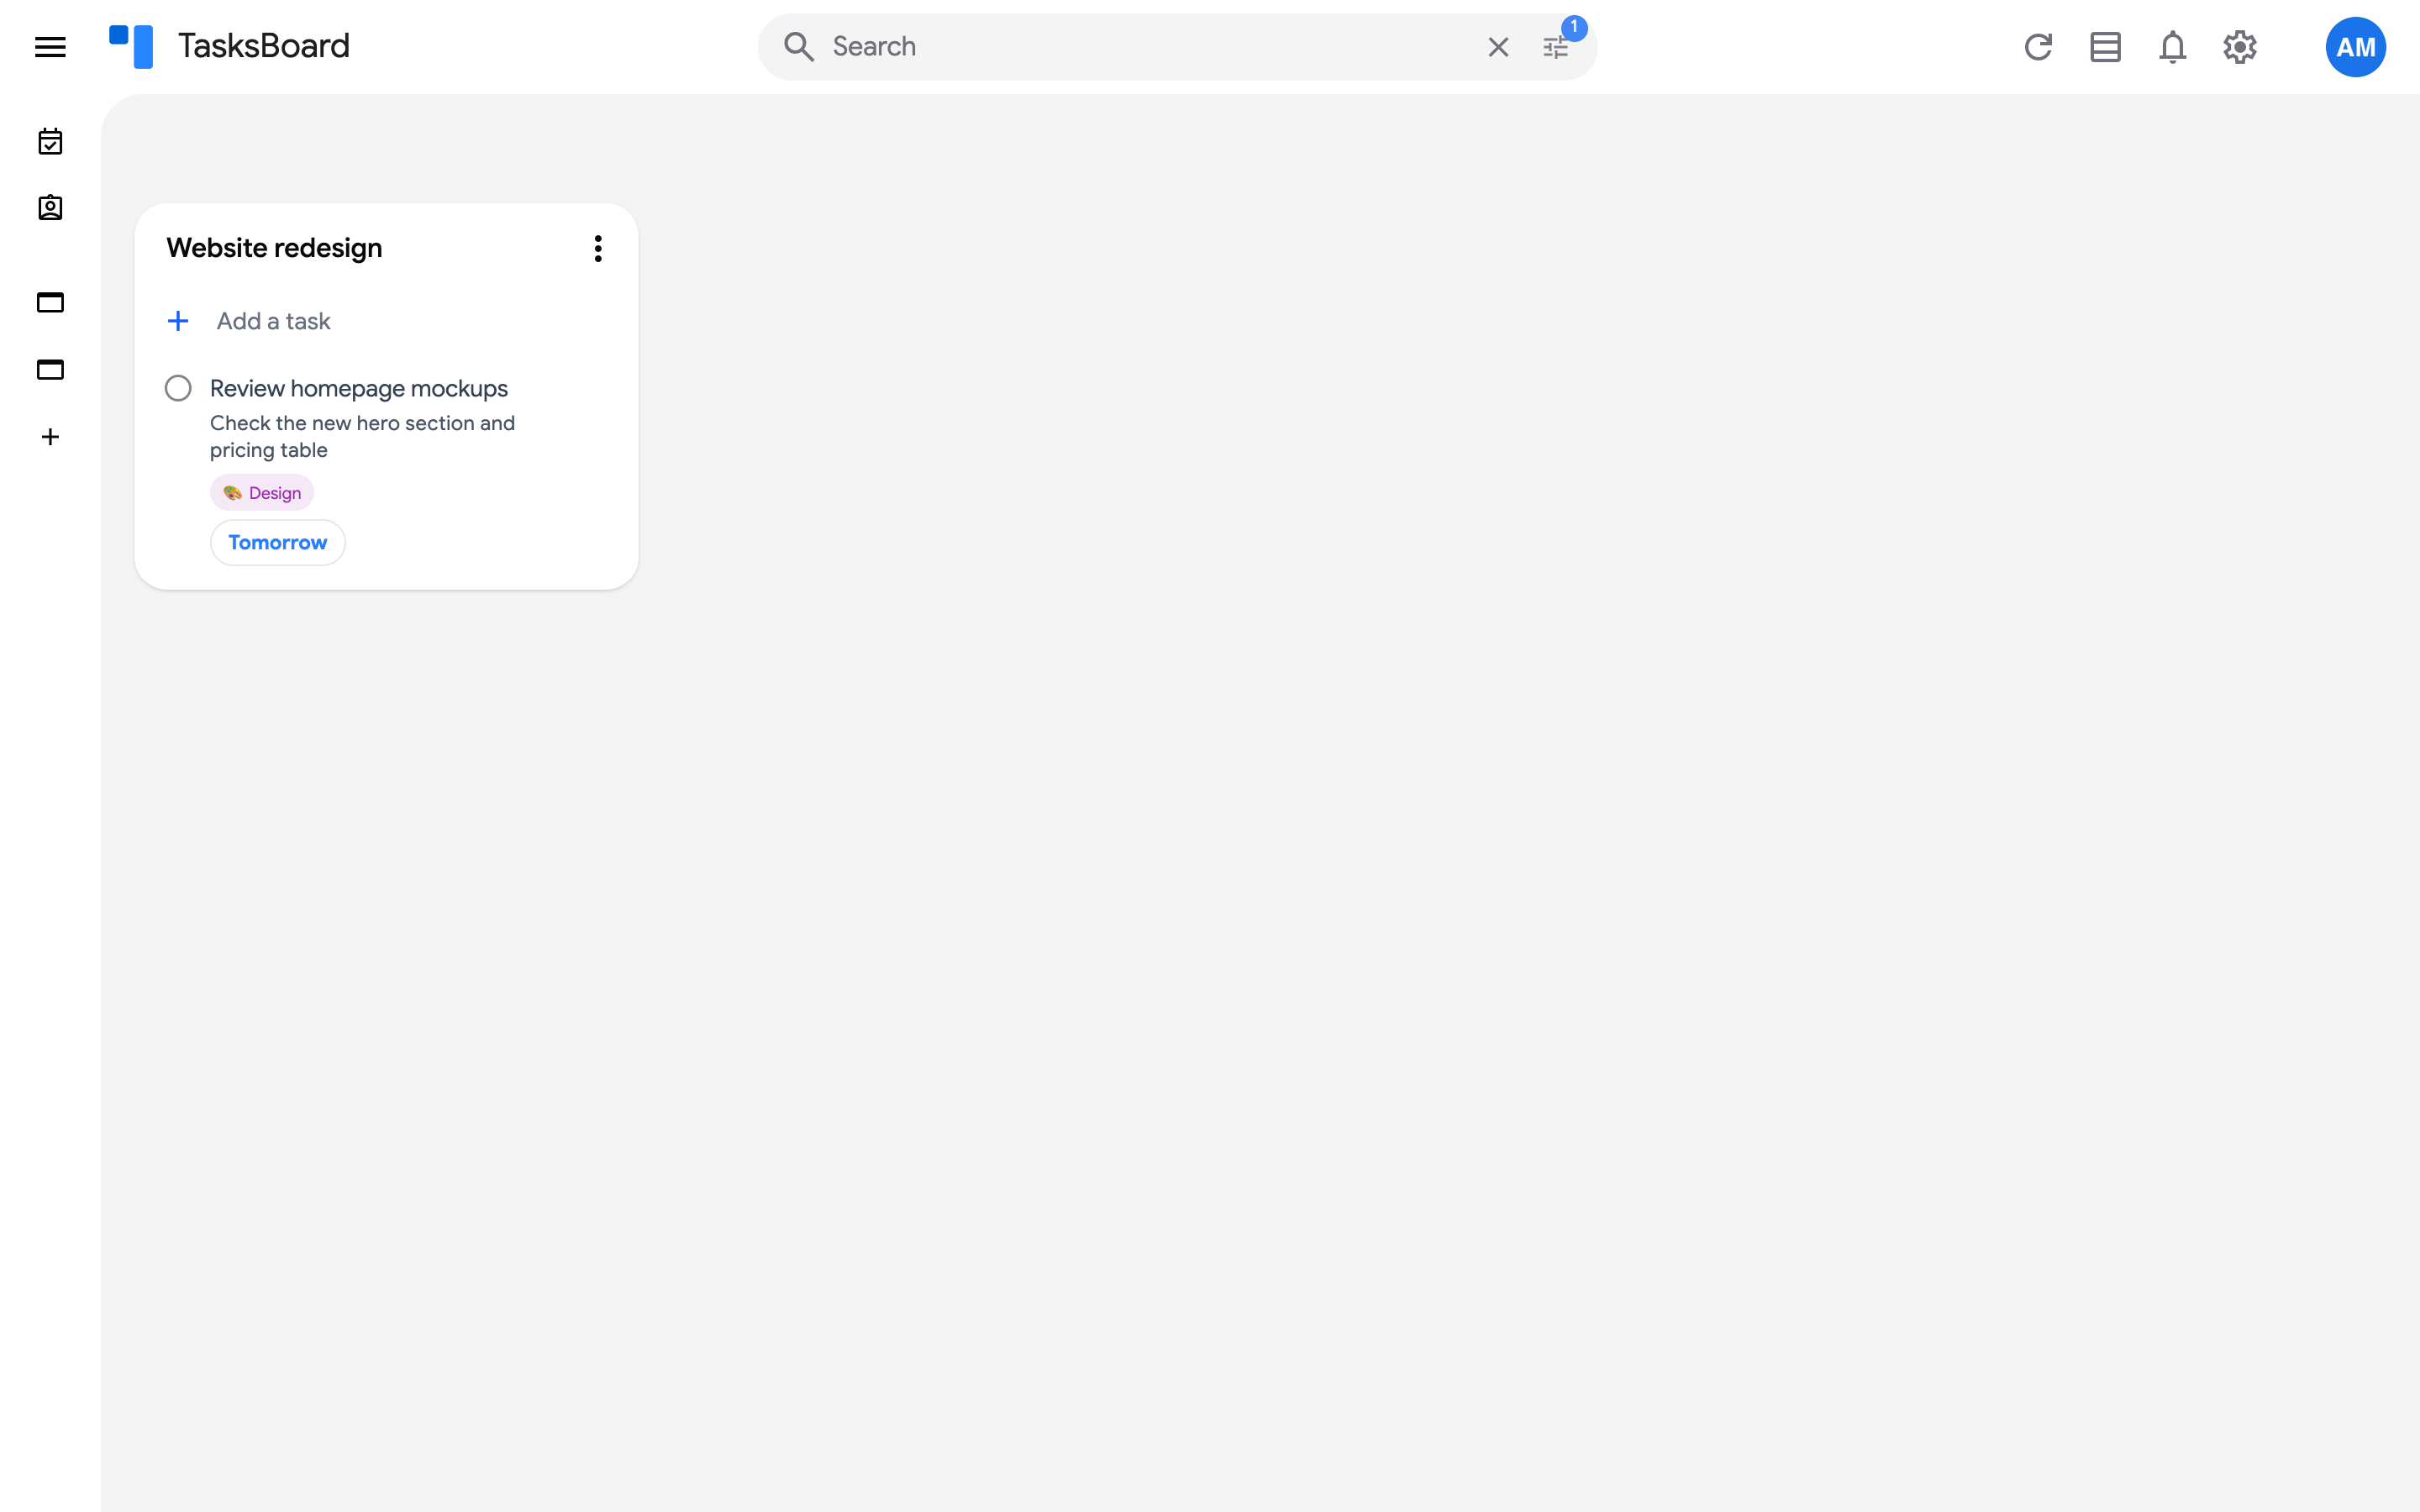
Click the x in the search bar to go back to the board.