
Manage team seats
此内容尚不支持你的语言。
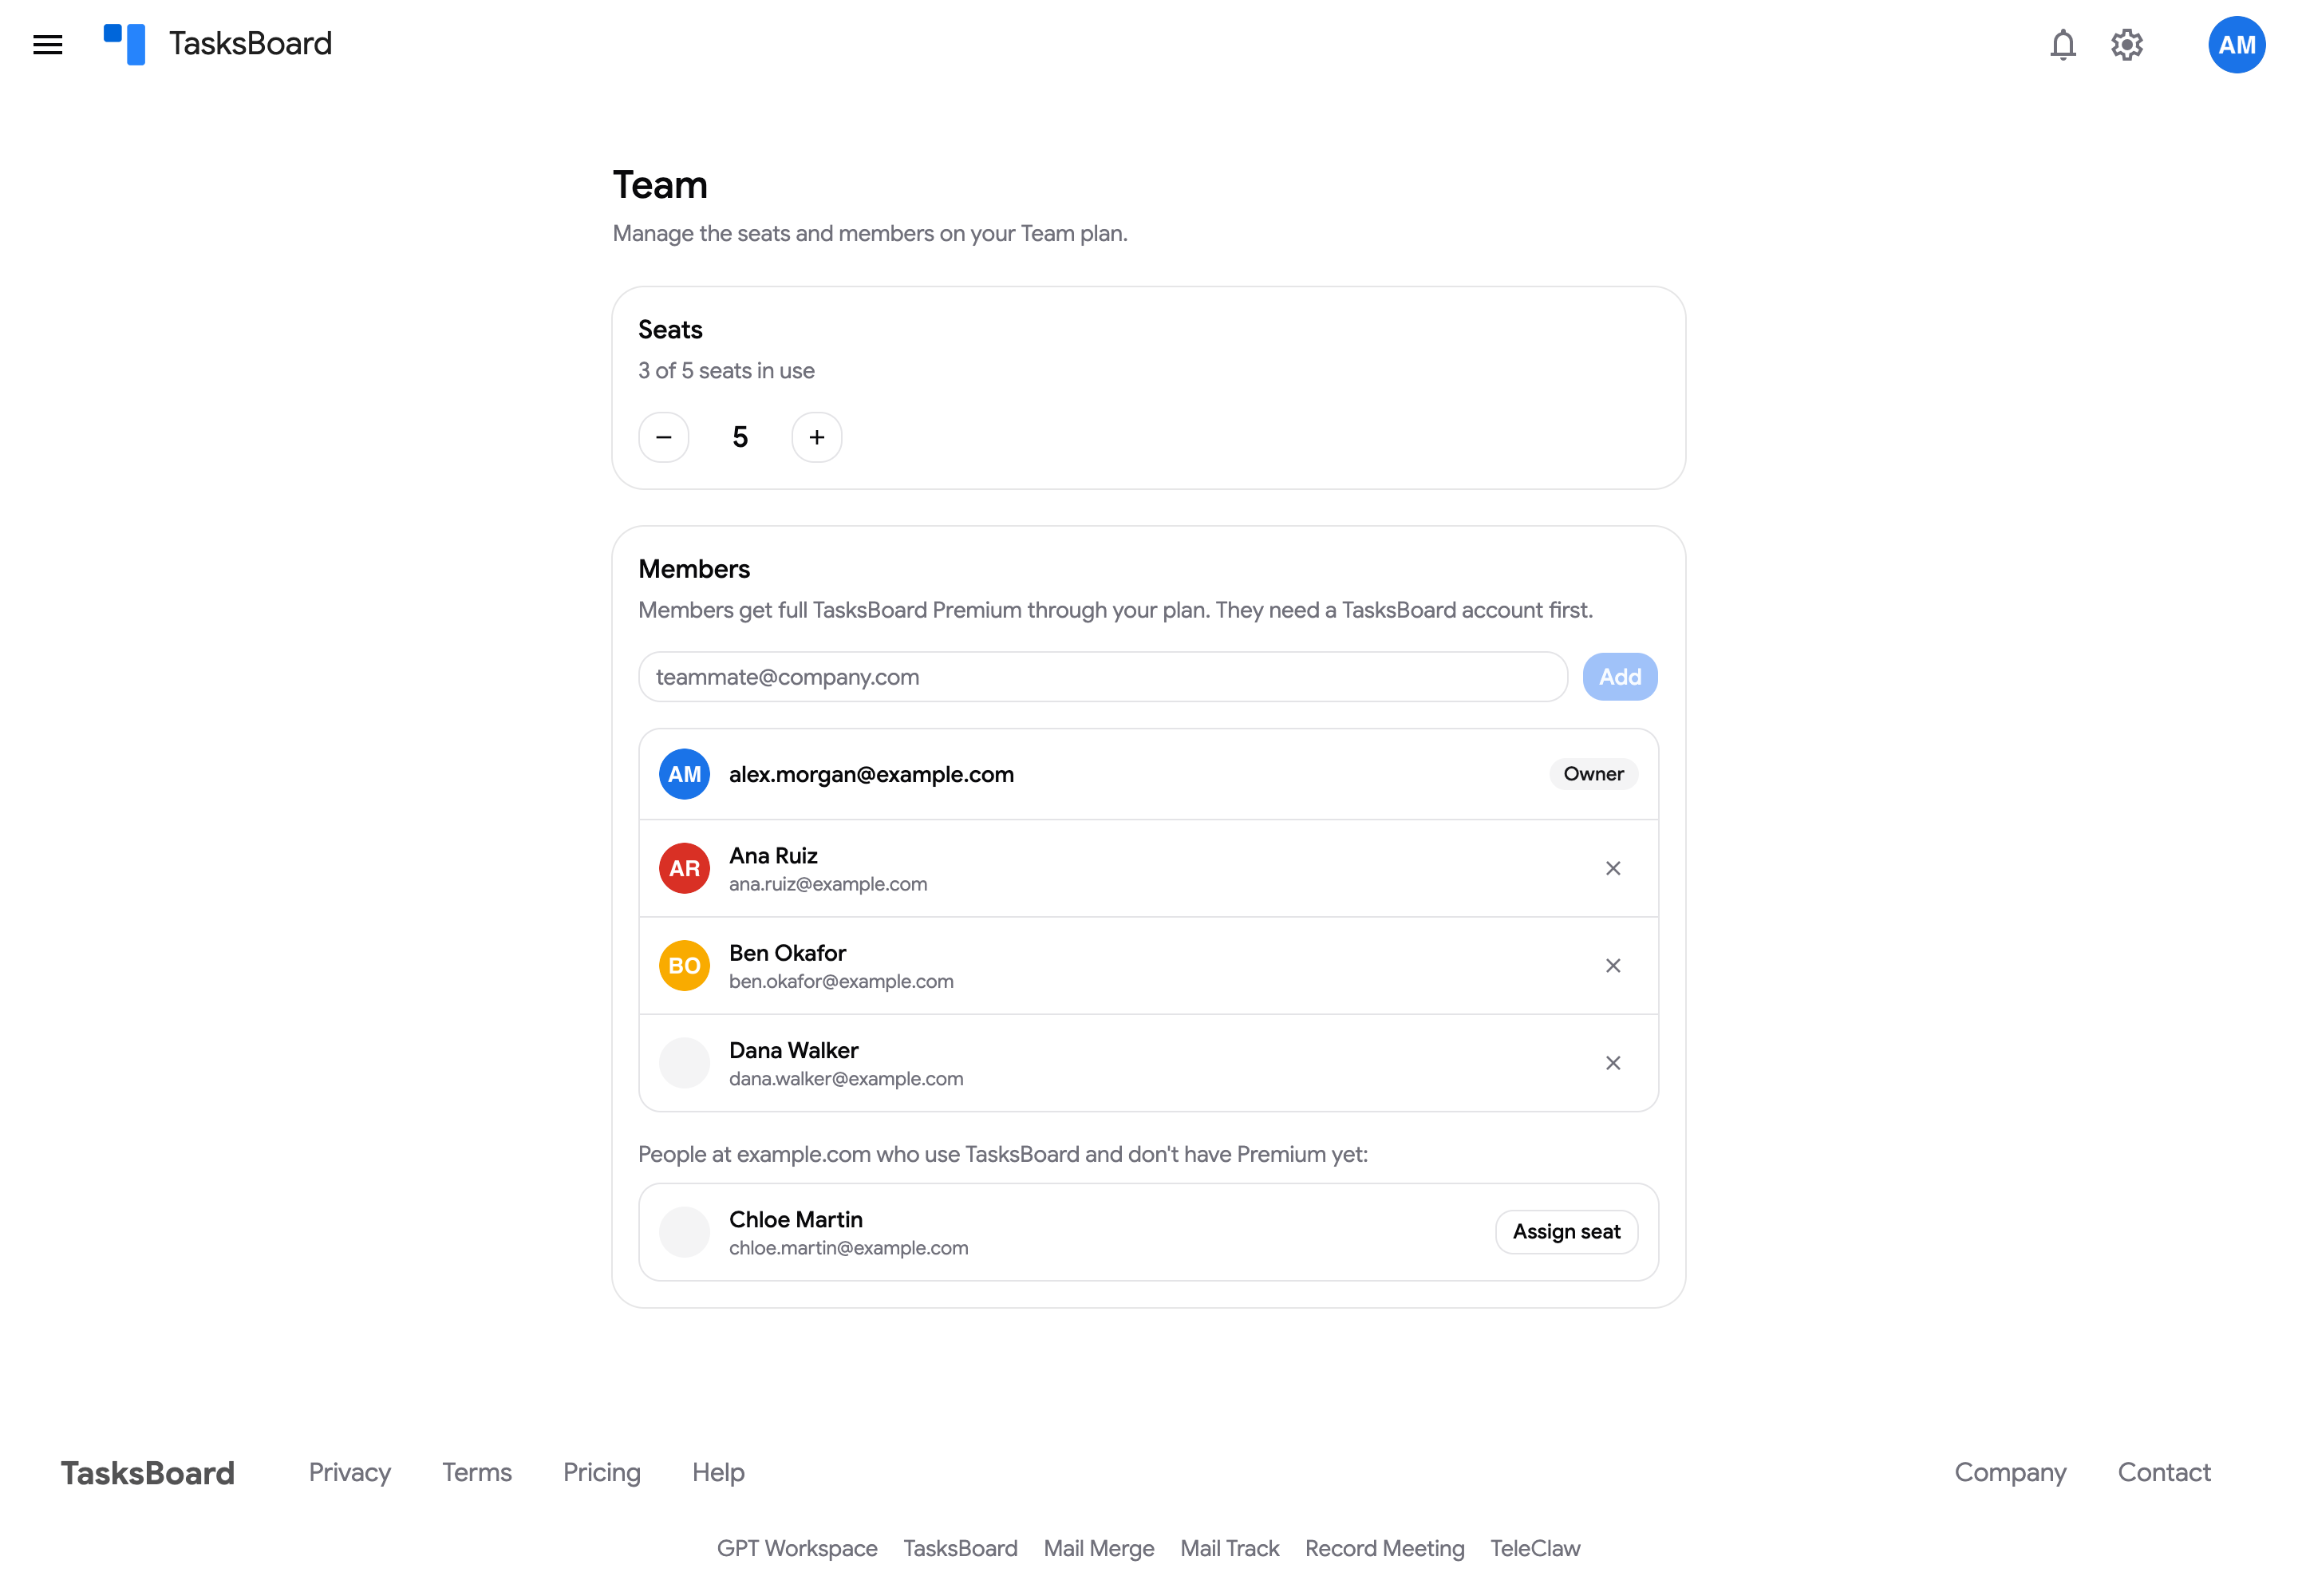
The Team page is where the owner of a Team plan manages seats and members. Open it from your avatar menu (“Team”), from the “Manage team” button on the Subscription page, or at tasksboard.com/team.
Change the number of seats
Section titled “Change the number of seats”- In the Seats card, use the − and + buttons to pick the new seat count (up to 100).
- Click “Update seats”.
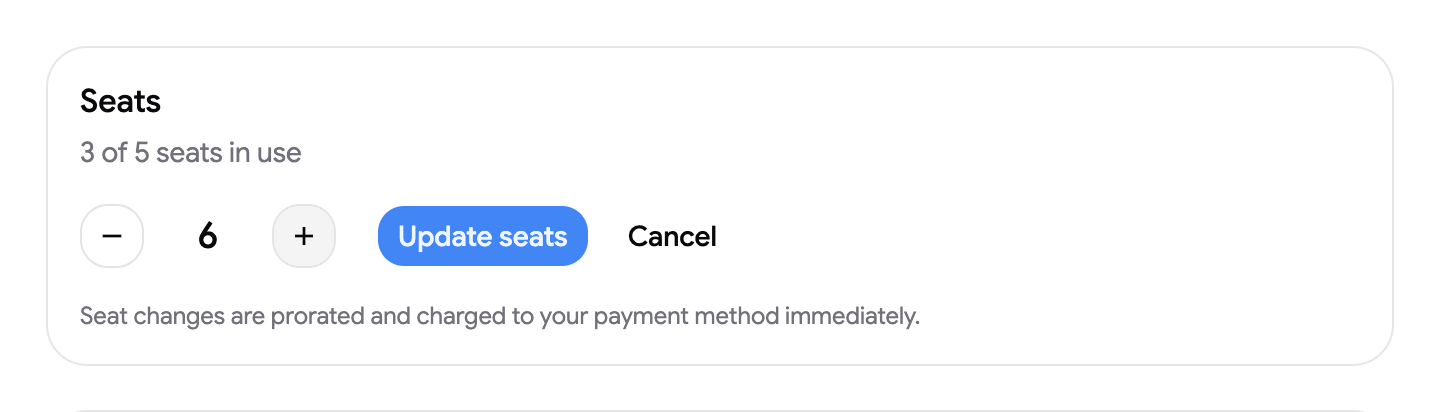
Seat changes are prorated and charged to your payment method immediately: adding a seat charges the remaining time of the current period for that seat, removing one credits the unused time to your account for your next invoices. You cannot go below the number of seats in use.
Add a member
Section titled “Add a member”- In the Members card, type your teammate’s email address and click “Add”.
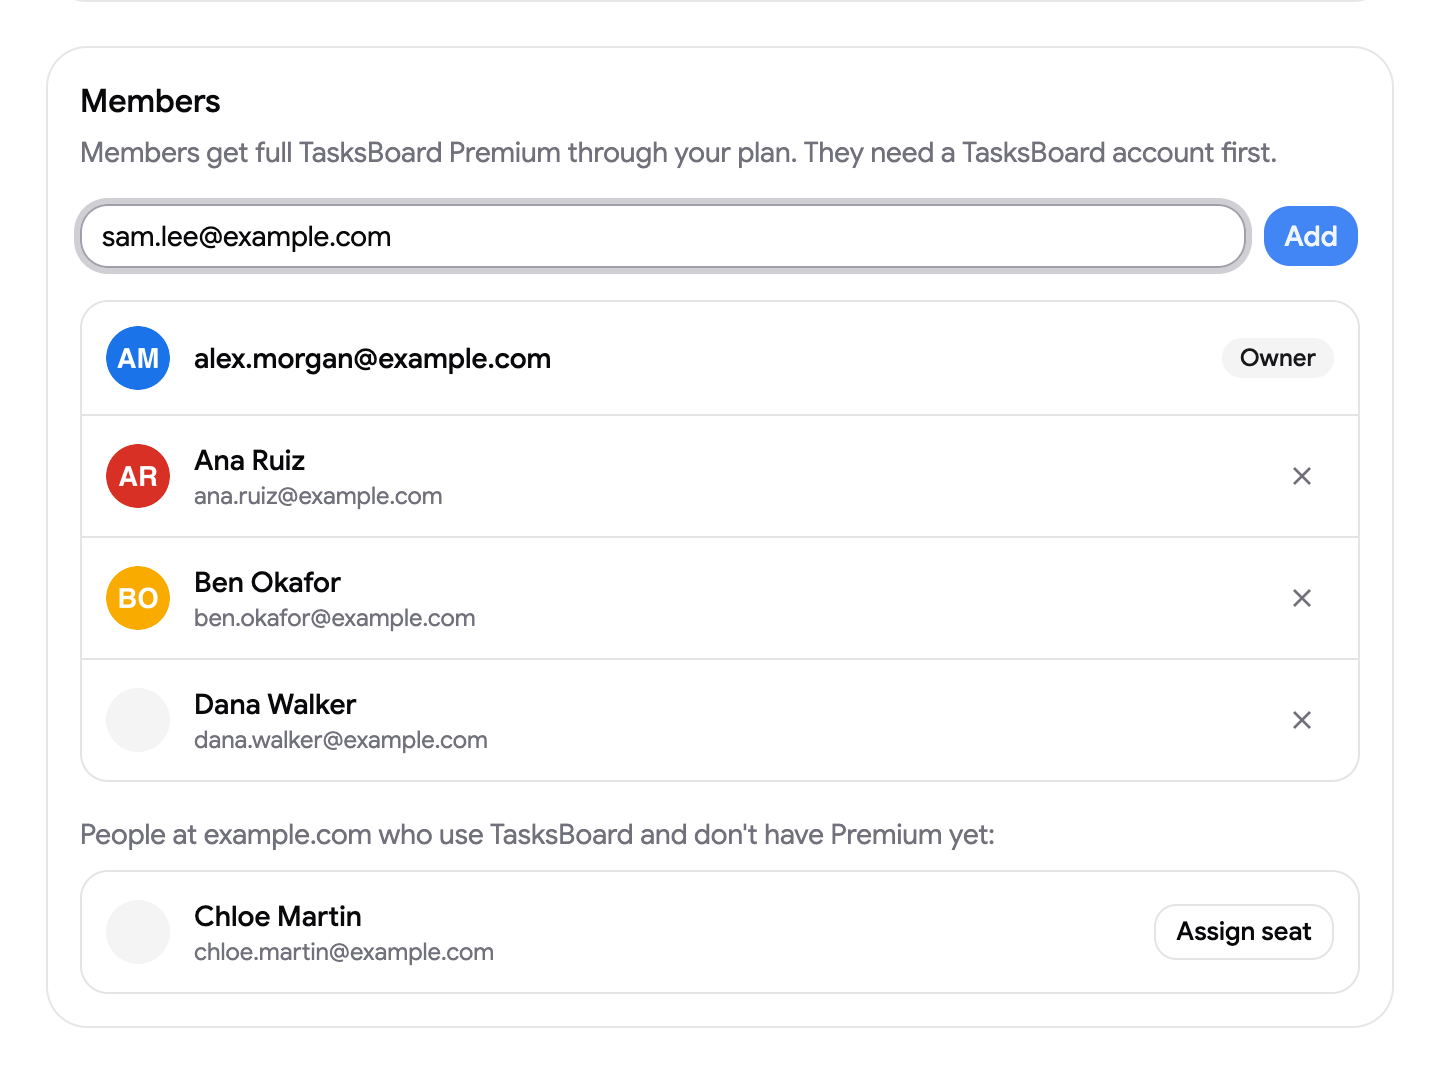
- The teammate signs in to TasksBoard with that same Google account and has Premium right away; no card or subscription needed on their side.
Colleagues on your domain
Section titled “Colleagues on your domain”When people with the same email domain as yours already use TasksBoard without Premium, they are listed under “People at your-domain.com who use TasksBoard and don’t have Premium yet”. Click “Assign seat” next to a name to add them in one click.
Remove a member
Section titled “Remove a member”- Click the × at the end of the member’s row.
- Confirm with “Remove”.
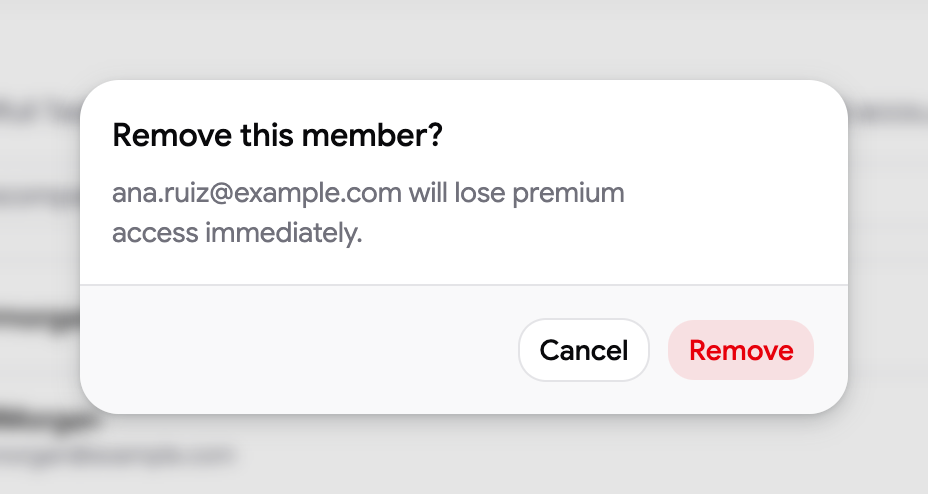
The member loses Premium immediately and the seat is free for someone else. Their tasks and shared lists are untouched.
What members get
Section titled “What members get”Members have the full Premium feature set: unlimited shared lists, boards, labels, customization, exports, Drive attachments and shared boards. They cannot see the Team page or your billing; only the owner manages seats and payment. If a member opens the Team page, it shows “Team plan required”.